We are building on my previous blog where we built a single node Nutanix cluster. If you need to check it out for reference you can find it here.
Now that we have a single cluster we need to deploy Prism Central so we can utilize all of the cool features of Nutanix like Leap (Disaster Recovery), Flow (microsegmentation, etc. You can also use Prism Central to manage multiple clusters from a single interface. We will need the following prerequisites:
- Prism Central binary and metadata json file (they are currently available here).
- 3 static IPs
- Virtual IP for your nutanix cluster
- Prism Central
- Cluster virtual IP
Go to https://cvm_ip:9440 (Prism Element). Login with admin nutanix/4u
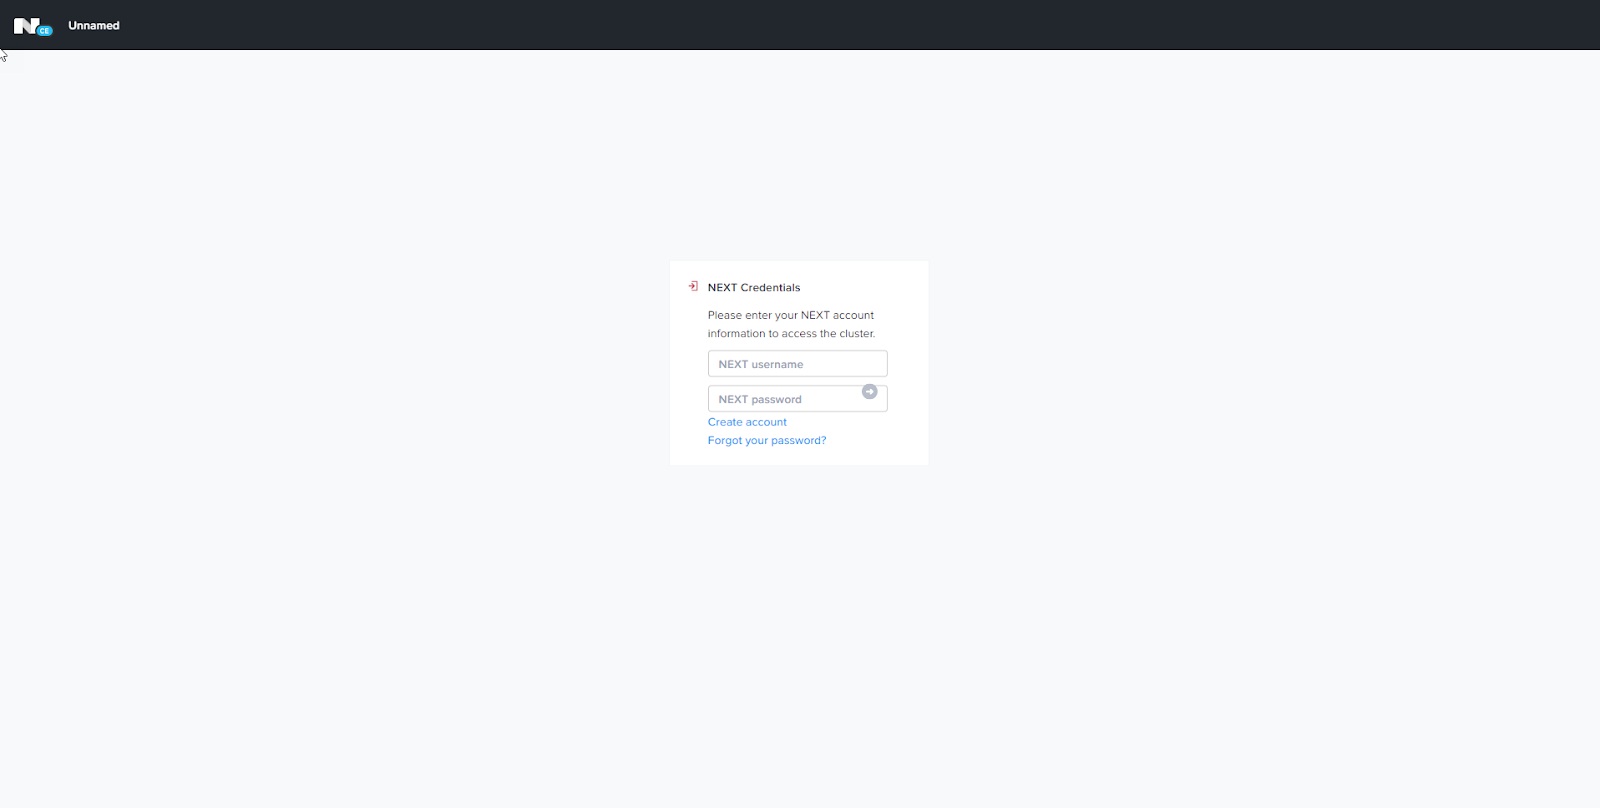
Login with your NEXT account
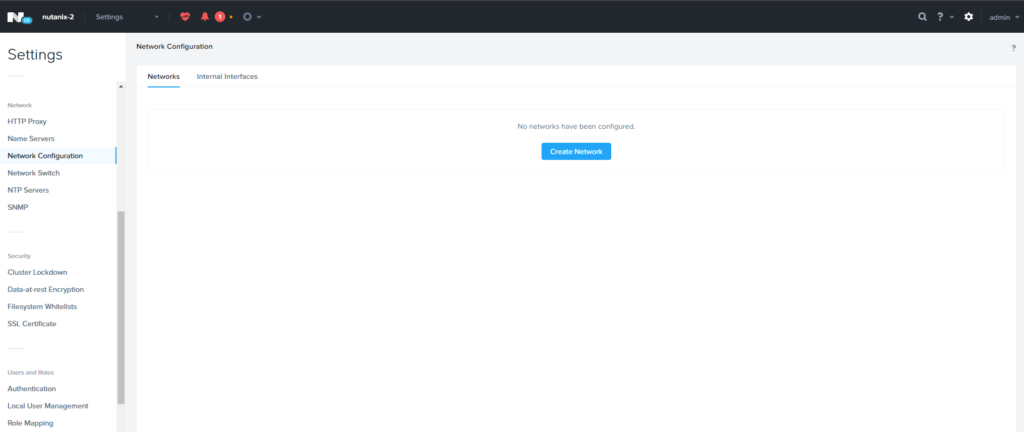
Now we need to add a network to assign to VMs. You can either click on the gear icon in the top right or hit the s key (this is a handy shortcut). Click on Network Configuration and Create Network.
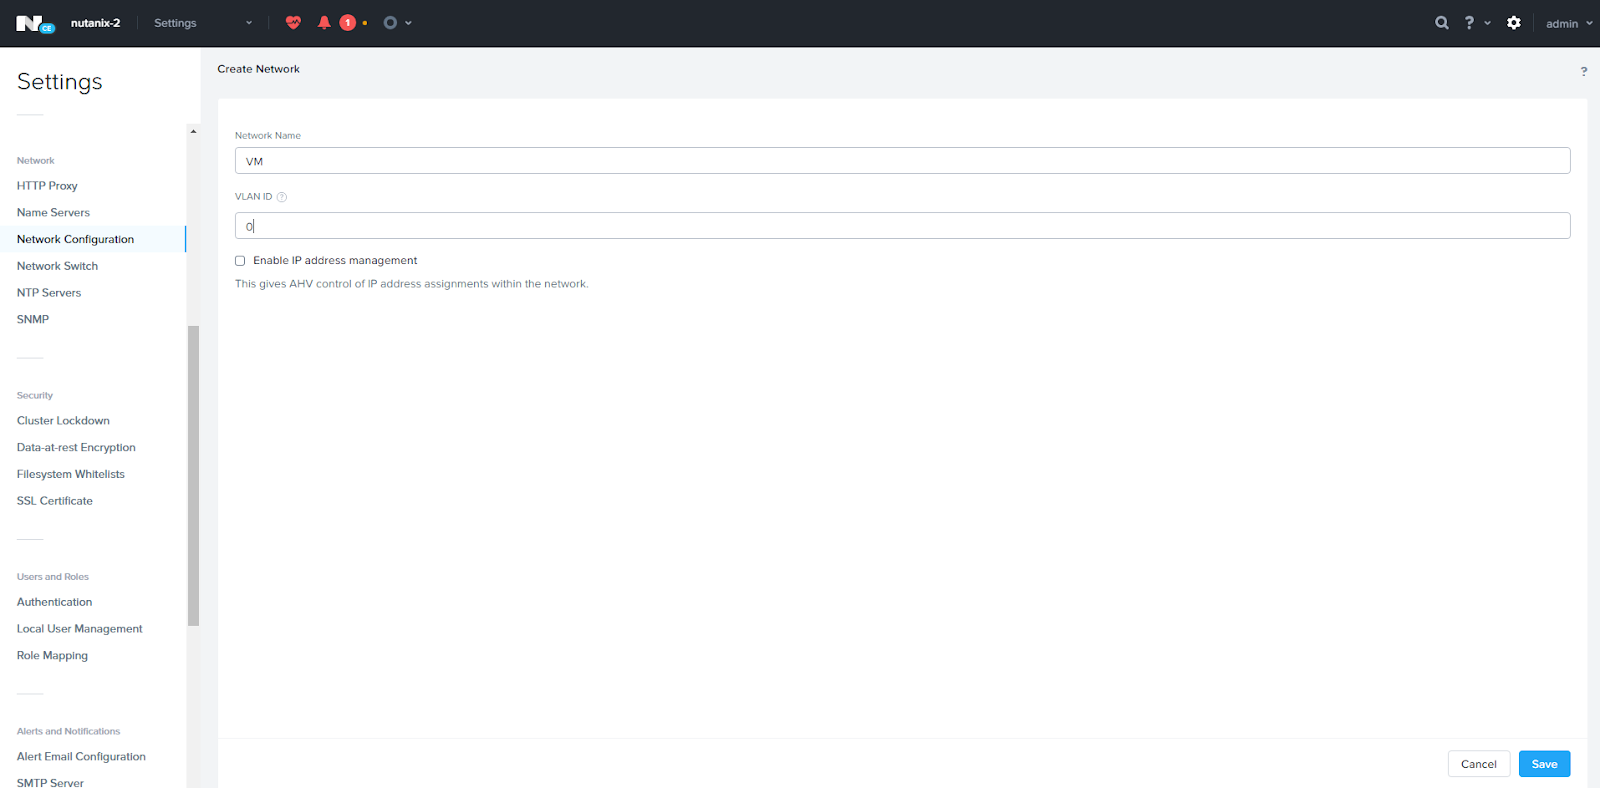
Give the network a name. Since this is in a home lab environment that is not using VLANs configure it as VLAN 0.
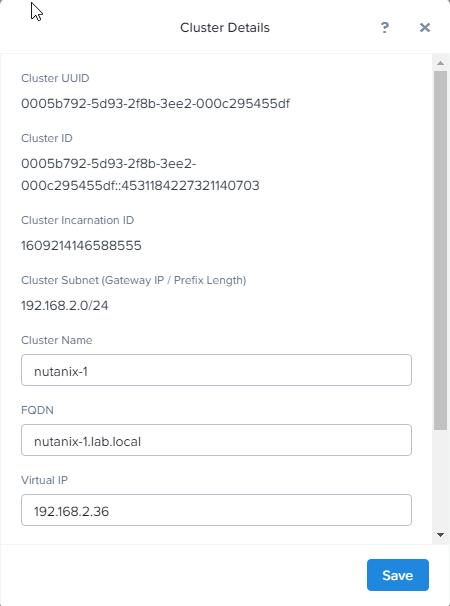
Next we are going to configure the cluster details. Click on the cluster name in the top left.

Enter in a cluster name, FQDN for the Nutanix host (look for a future blog post for setting up a lab DNS server), and a virtual IP of the cluster.
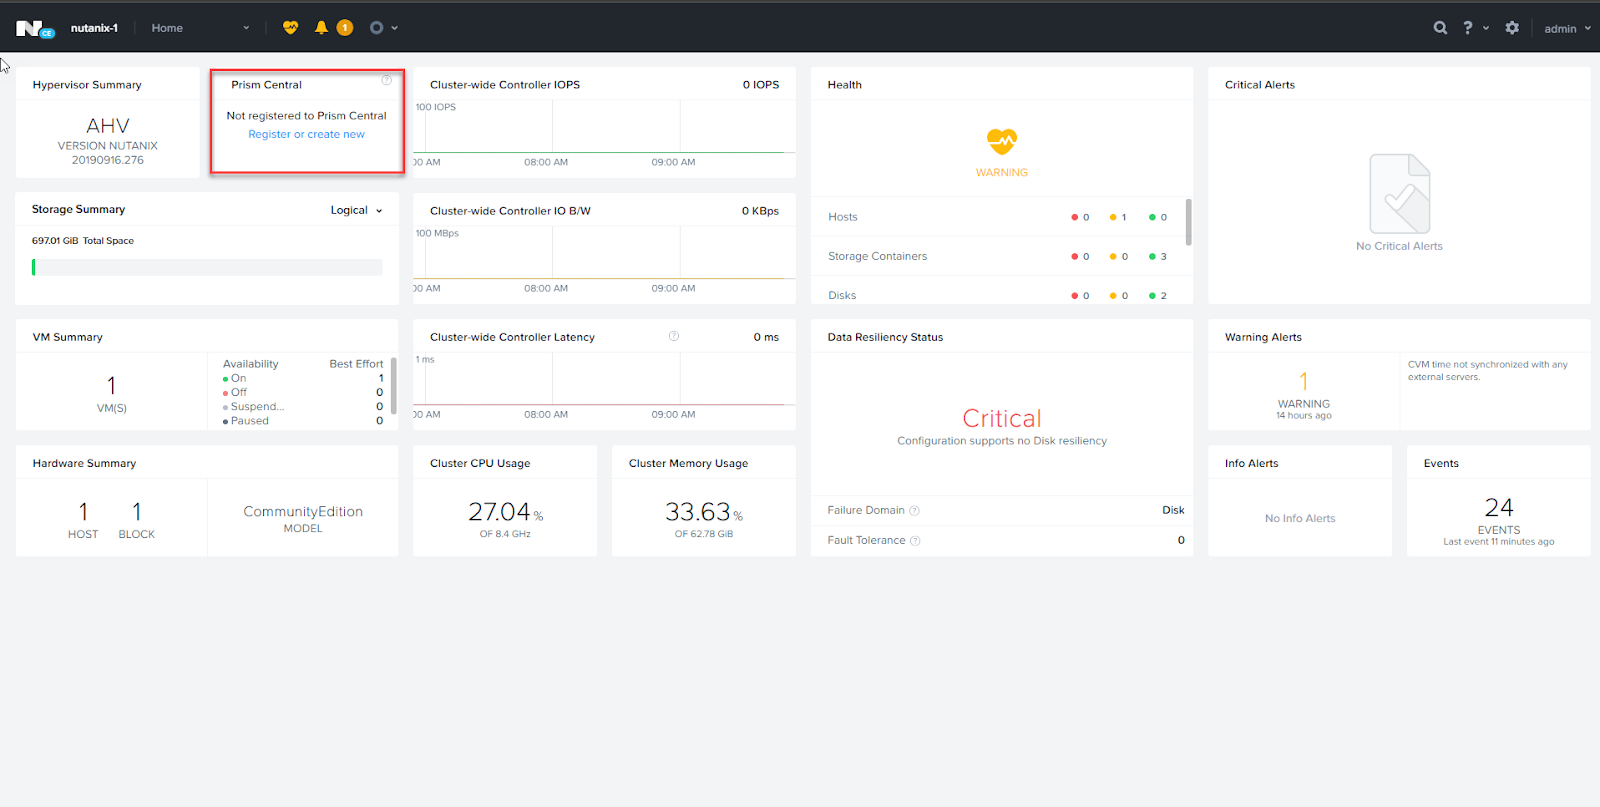
Now it is time to deploy Prism Central. Click on the Prism Central widget.
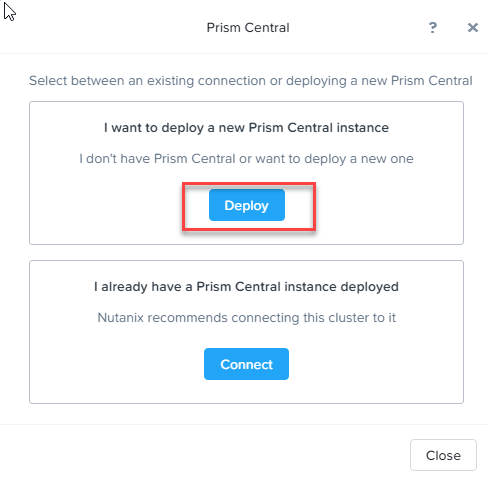
Click on the Deploy button.
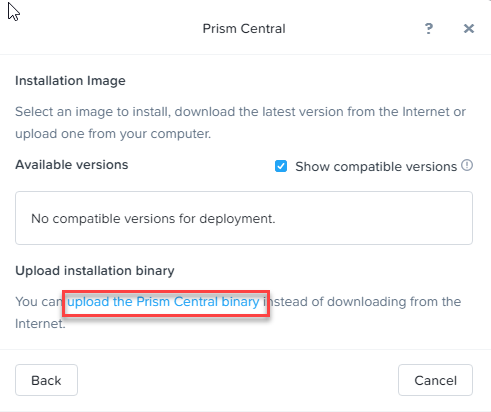
Click on “Upload the Prism Central binary link”
Click on the choose file button for both the Prism Central and Metadata and navigate to the location where you saved them in the prerequisite step.
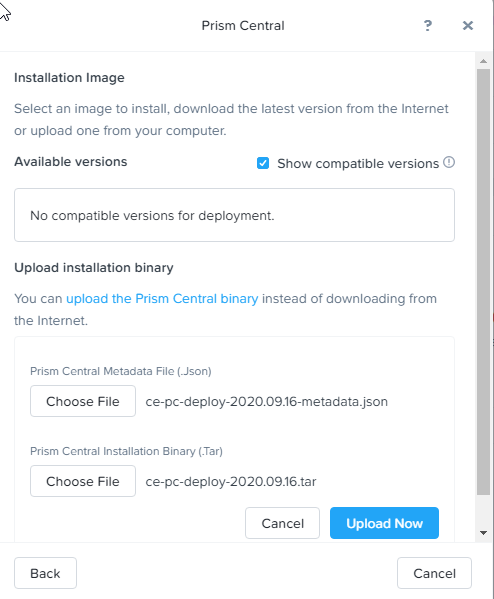
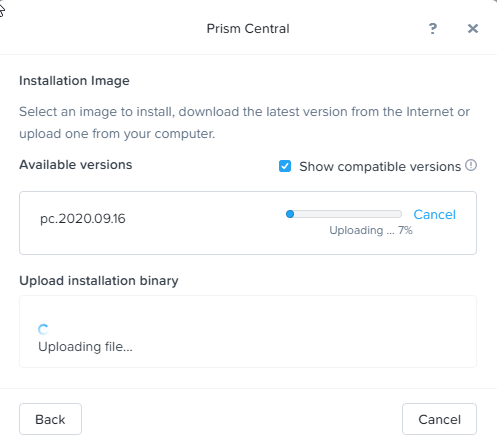
Click the Upload Now button.
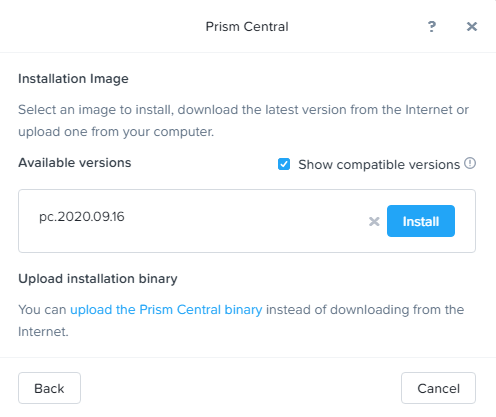
Click the Install button.
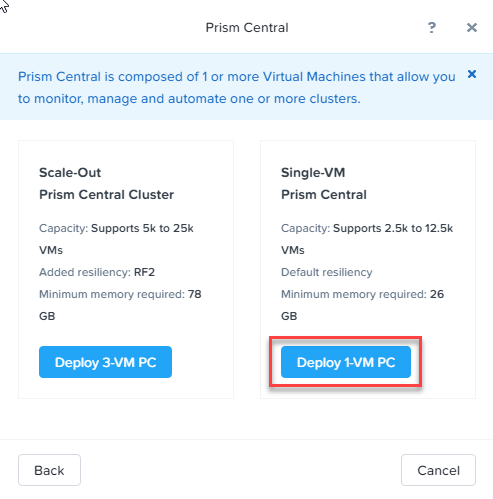
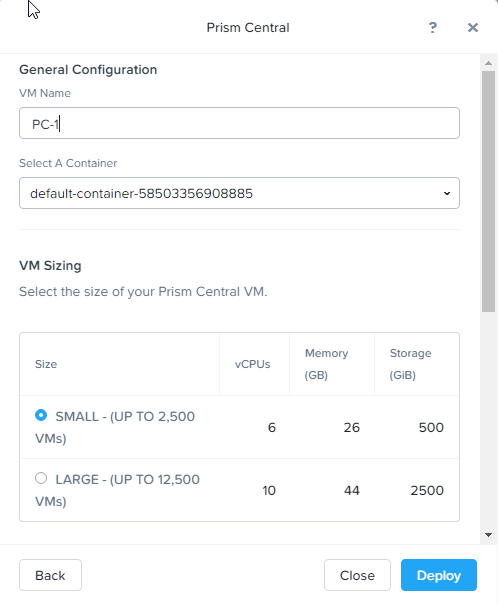
You have the option to deploy Prism Central as a 3 VM cluster or as a single VM. In this case, since we will be managing less than 30 VMs, we can select Deploy 1-VM PC.
Give the Prism Central VM a name and select the storage container. In this case, the default storage container is fine. Select the small option since we won’t be deploying very many VMs.
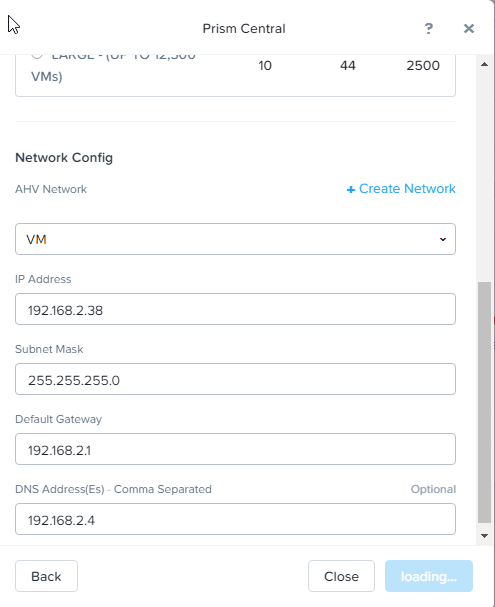
Scroll down. Select the AHV network we created in an earlier step on the dropdown menu, Then fill out the network information.
Click Deploy. It will take 30 -45 min so this is a perfect time to go get a cup of coffee or a snack.
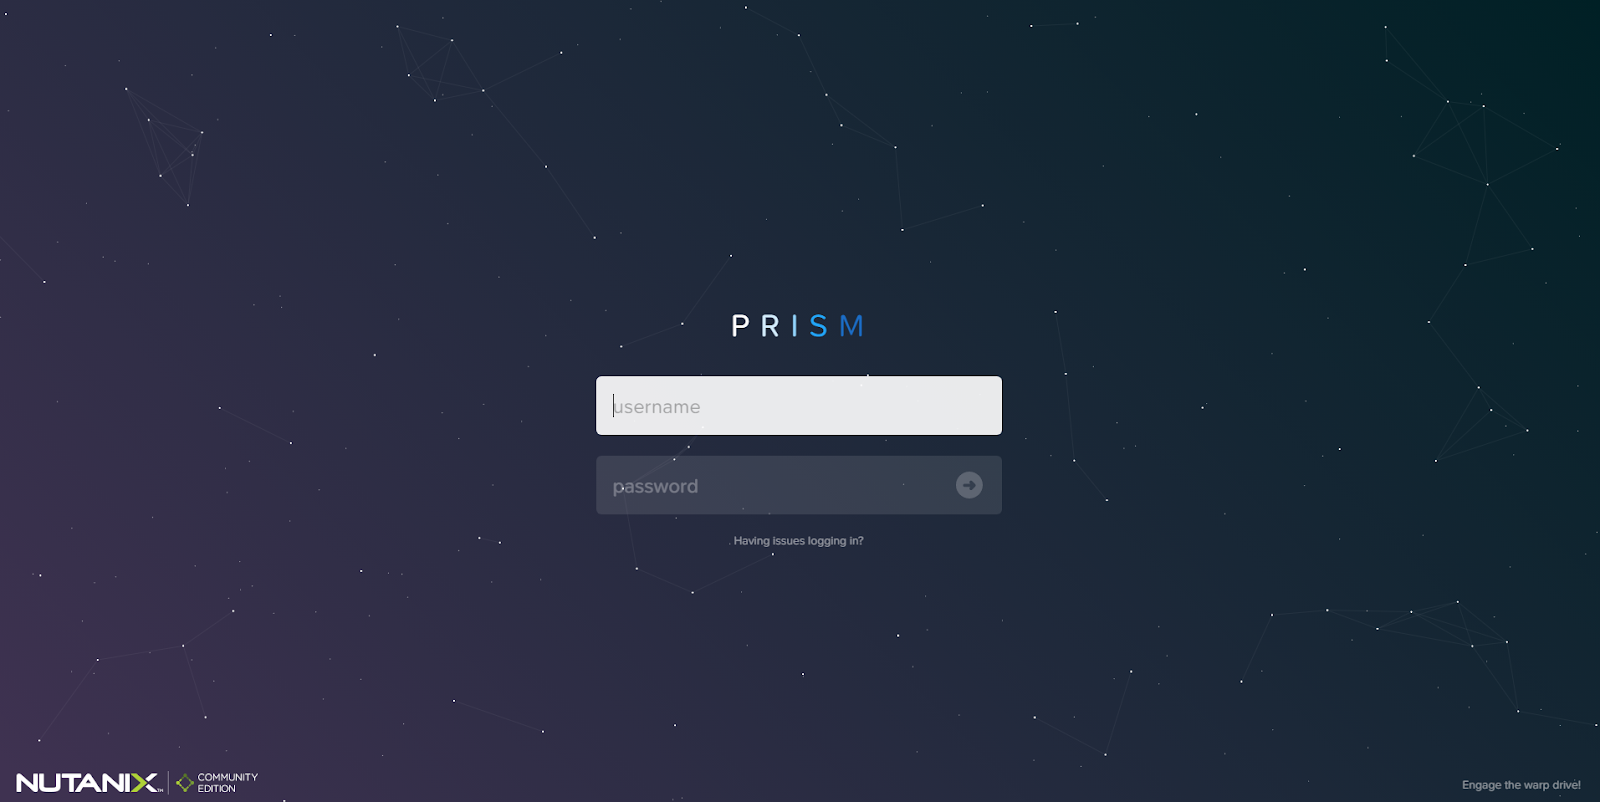
Once the prism Central VM has been deployed (you can click on the task icon on the top of the main menu to check the status), go to the https://prismcentral_ip:9440). Login with admin Nutanix/4u (note the capital N).
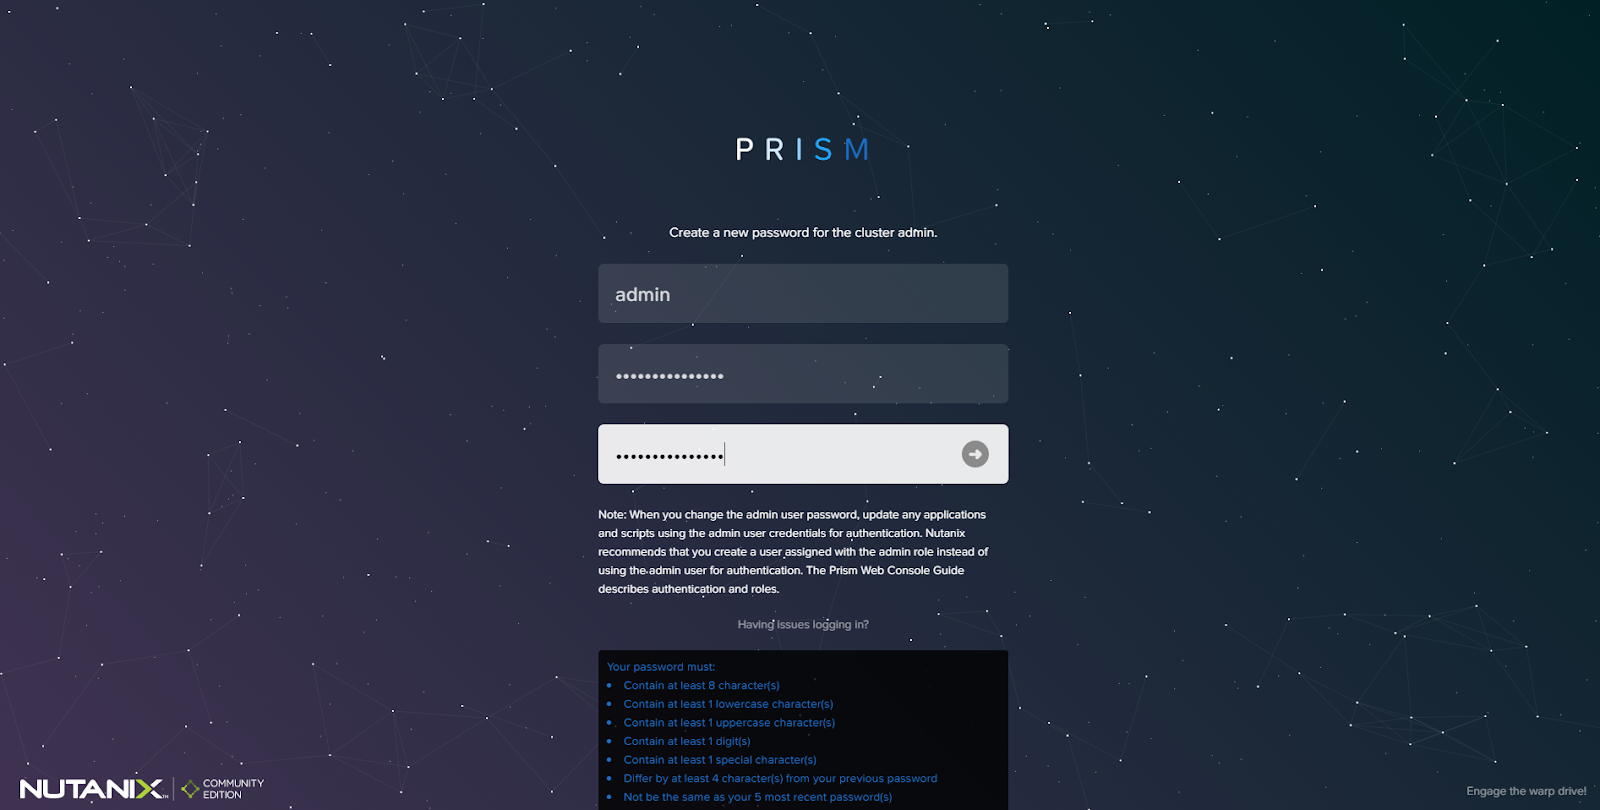
The next screen will prompt you to change the password.
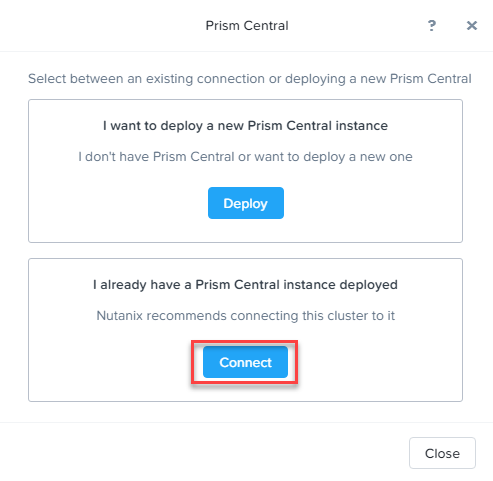
Now we need to add Prism Central to Prism Element. Go back to https://cvm_ip:9440) and click on the Prism Central widget.
This time click on the Connect button.
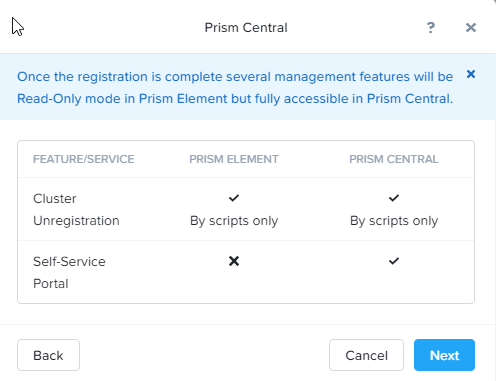
Click Next.
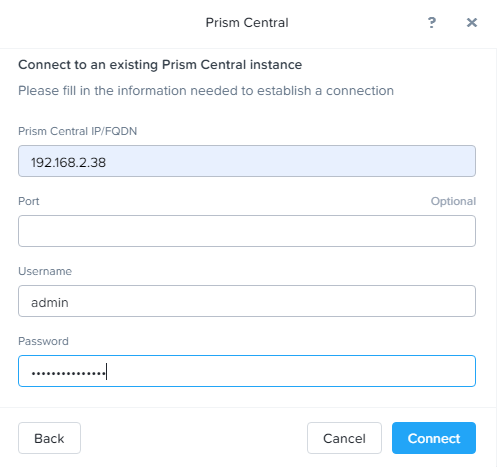
Type in the Prism Central IP, admin user and the password you just reset for Prism Central. Then click Connect.
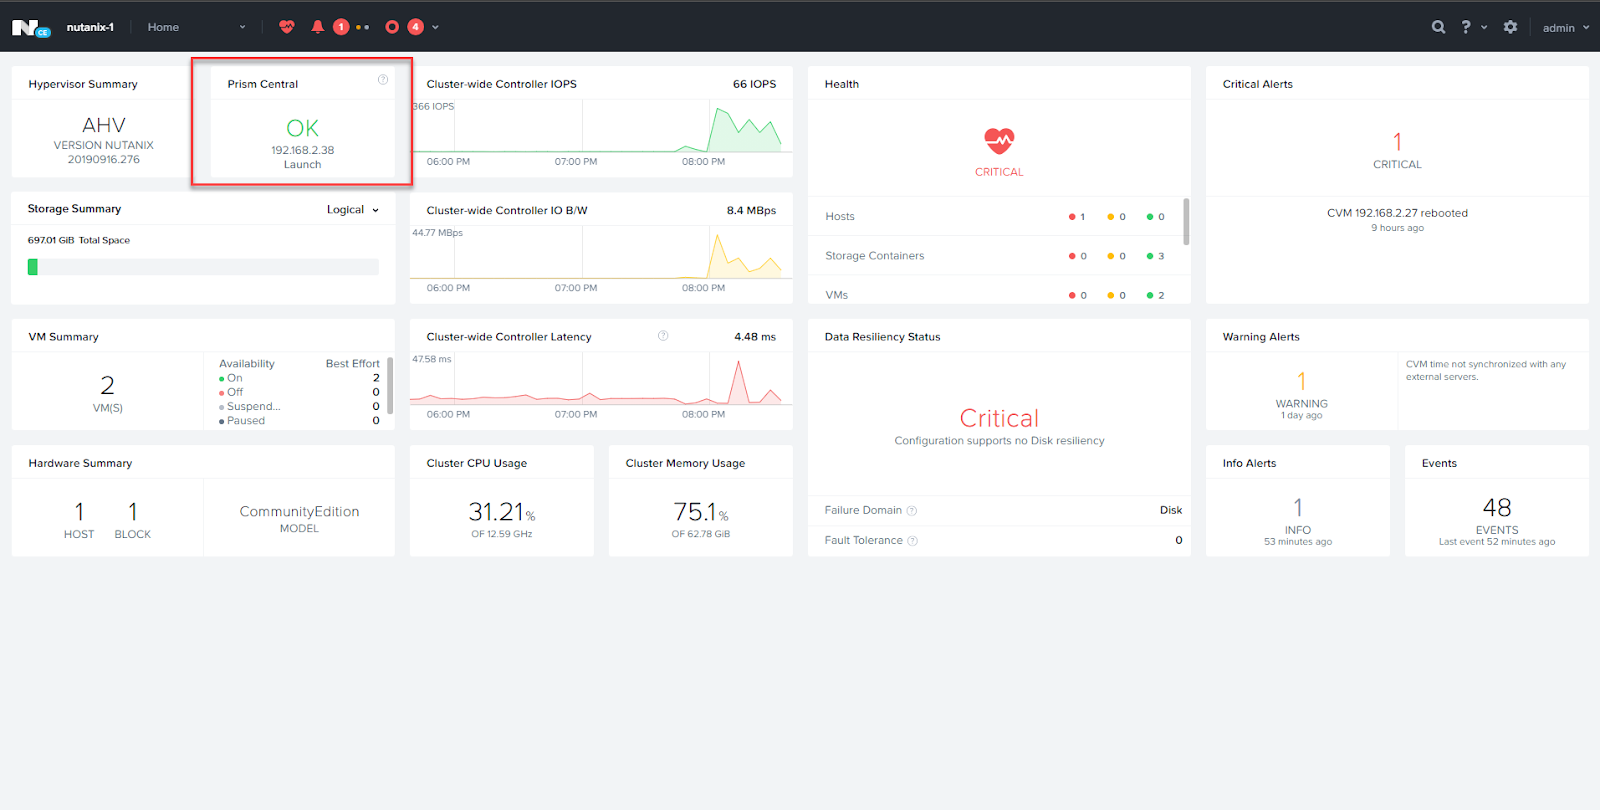
Once this is complete you will see an OK on the Prism Central widget
We are almost done, Login to Prism Central and enter your NEXT login information.
Congratulations, you have deployed Prism Central. Now you can deploy a second cluster using the same procedures so you will be ready to set up Leap (disaster recovery) on my next Nutanix blog.
Recent Comments