I was looking for an easy way to set up a Nutanix lab environment so I could try out some configurations without affecting my production environments. If you haven’t had the chance to try out the Nutanix Community Edition, it is now even easier to install. Previous versions were distributed as a disk image and now it is a bootable iso.
I’m going to walk through the high-level steps to get Nutanix CE up and running in a nested environment on VMware ESXi 7.0. I will be creating a single node cluster, so we will need the following prerequisites
- 2 available static IPs
- The port group needs to have promiscuous mode, MAC address changes, forged transmits enabled
Download the ISO from:
https://next.nutanix.com/discussion-forum-14/download-community-edition-38417
*If you do not have a Nutanix account, you will need to create one
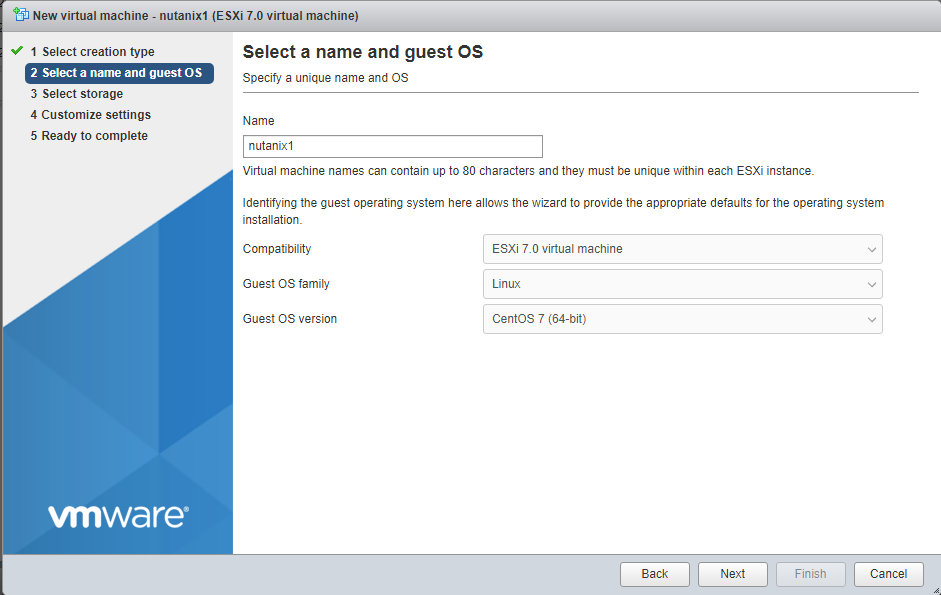
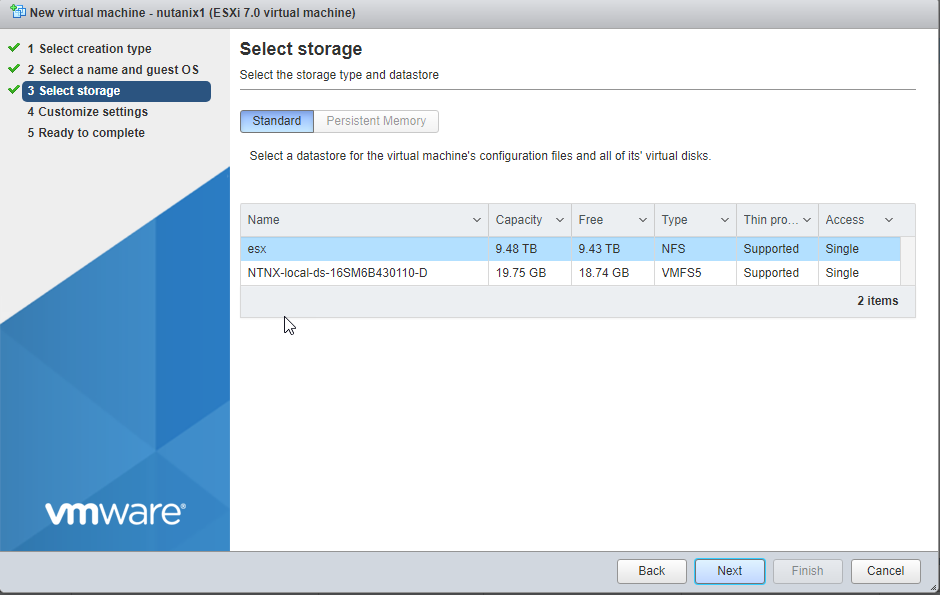
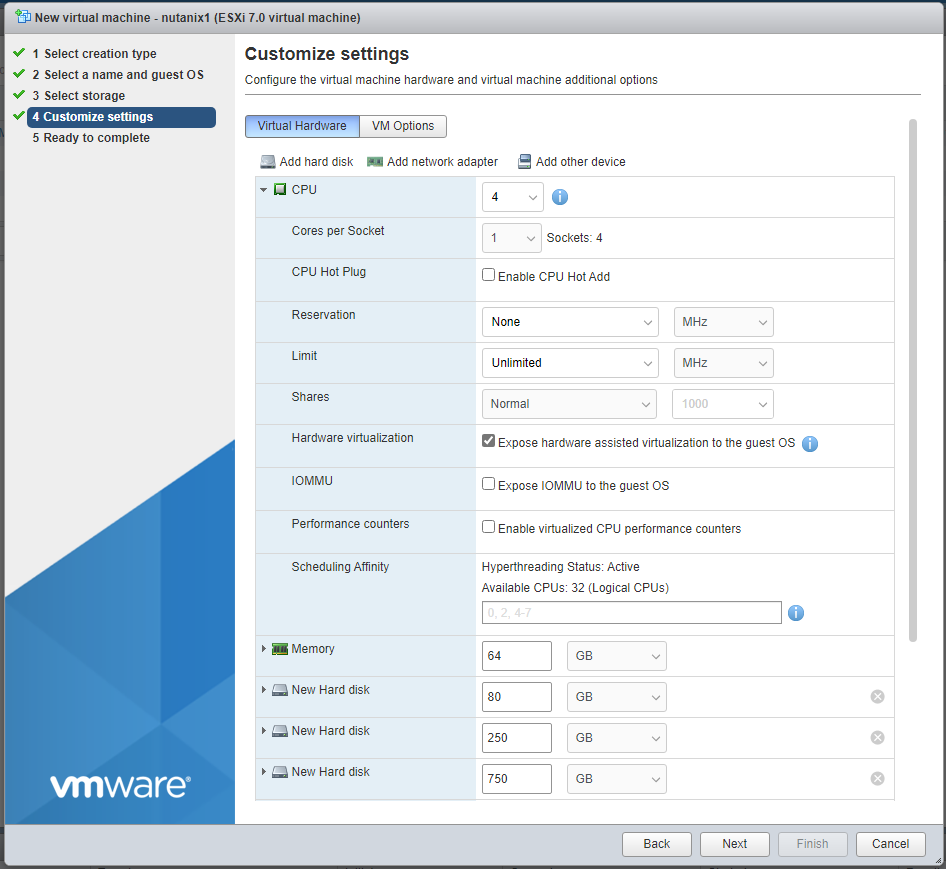
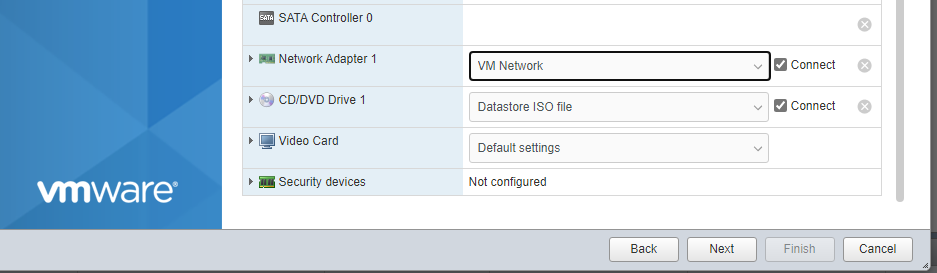
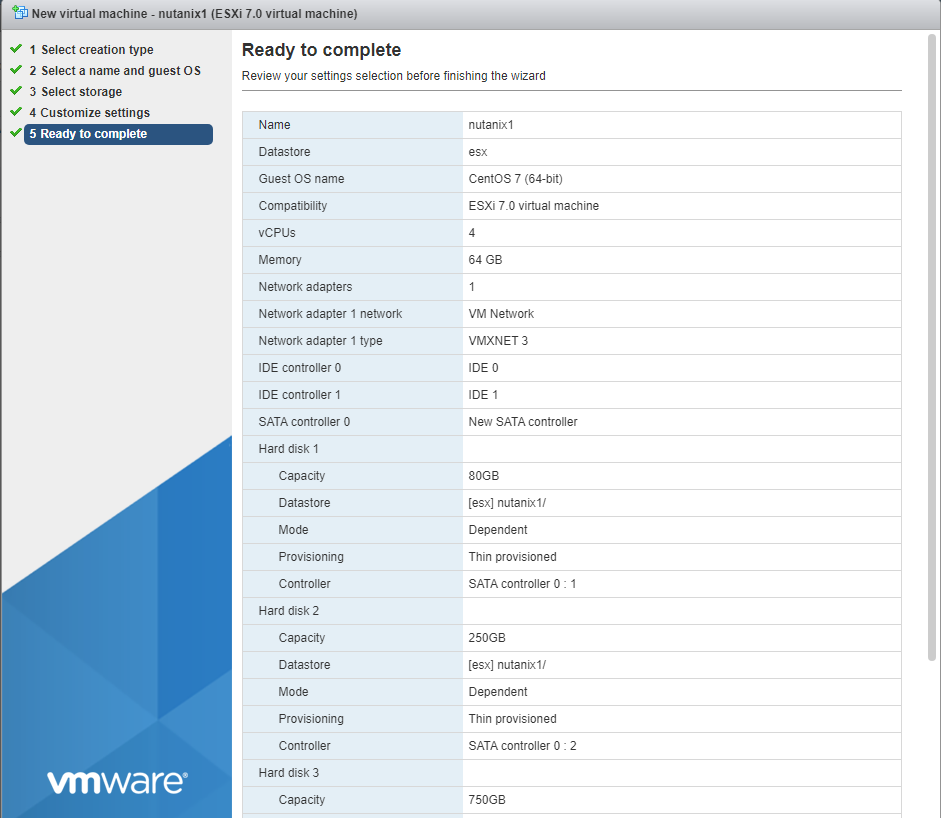
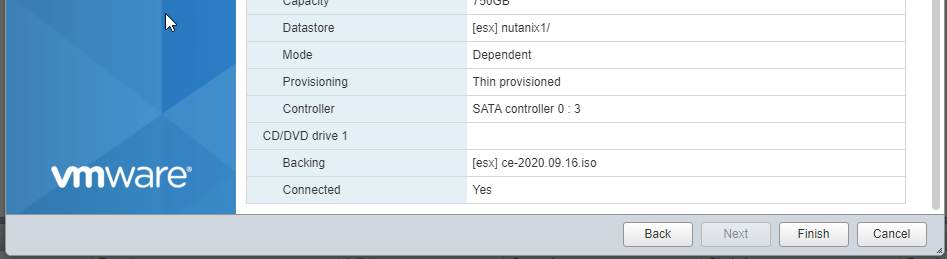
Create a VM on ESXi with the following configuration (see screenshots below for more detail). These settings worked for me, but feel free to experiment.
- 4 vCPU (6 vCPU if you are going to deploy Prism Central in the future)
- CPU Hardware virtualization enabled
- 64 GB
- 32 GB SATA hard disk
- 250 GB SATA hard disk
- 750 GB SATA hard disk
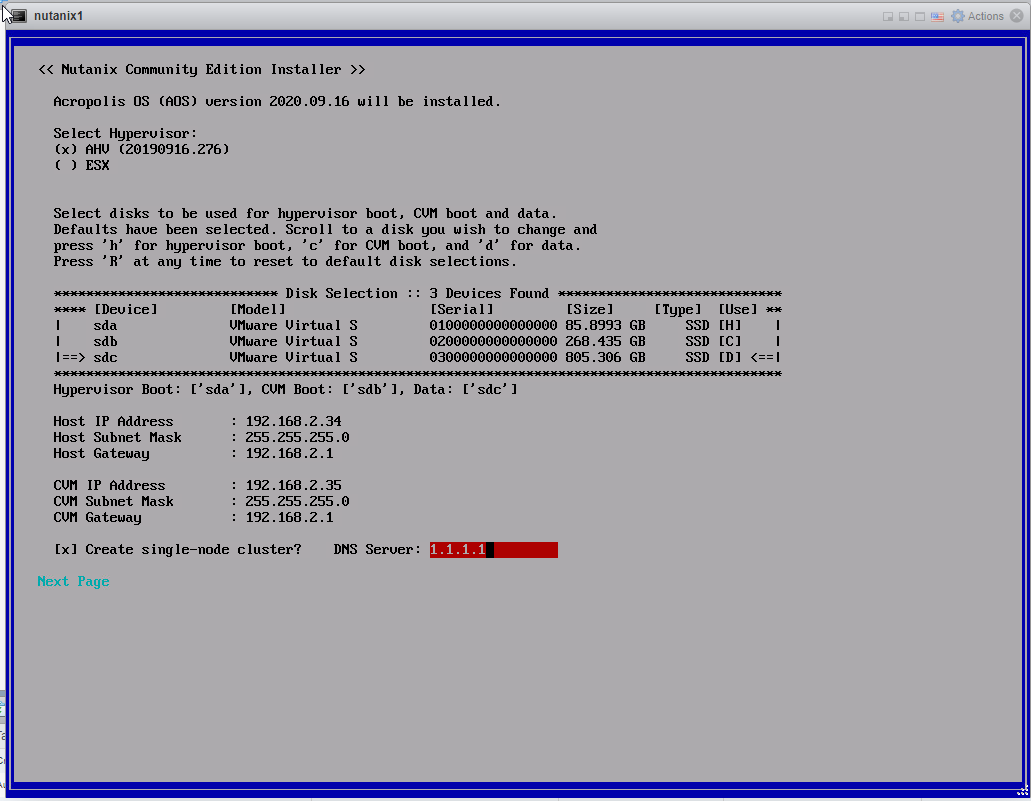
We are almost there. Select AHV as the hypervisor. We will be using sda as the boot, sdb as CMV, and sdc as data.
Remember the 2 static IPs that we needed? Enter them in and be sure to remember which one you used for the CVM
Check the “create single-node cluster” box and enter a valid DNS server IP.
Scroll down to the bottom of the license agreement and accept it.
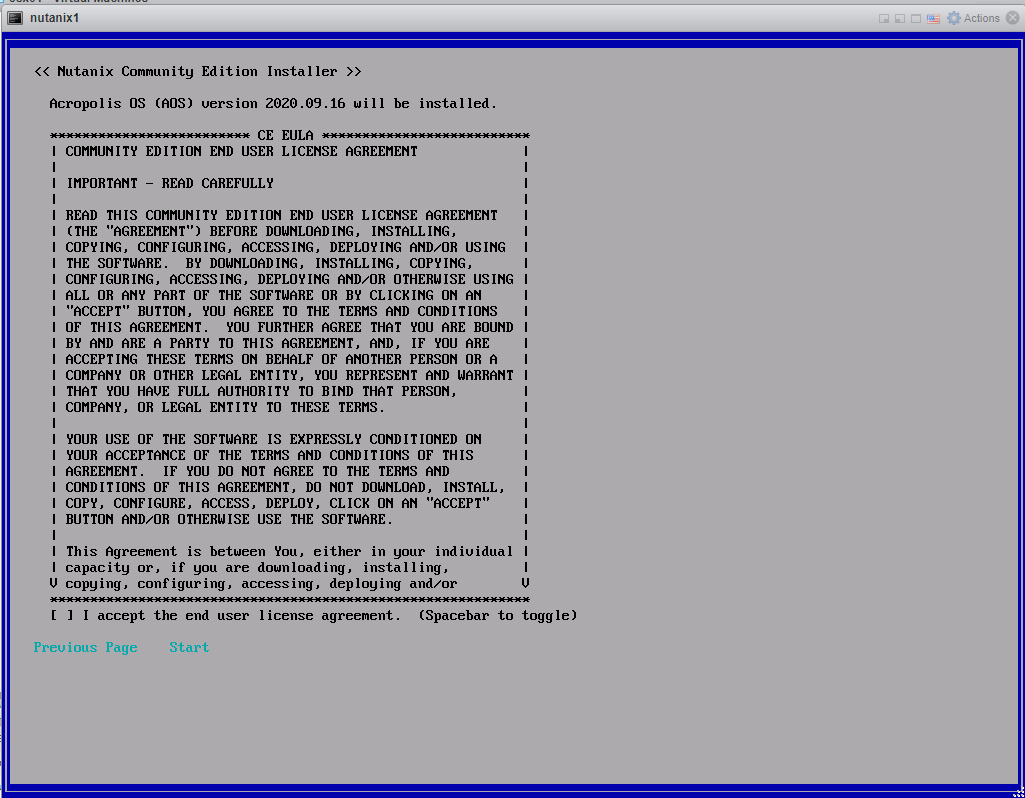
Select start and go get lunch.
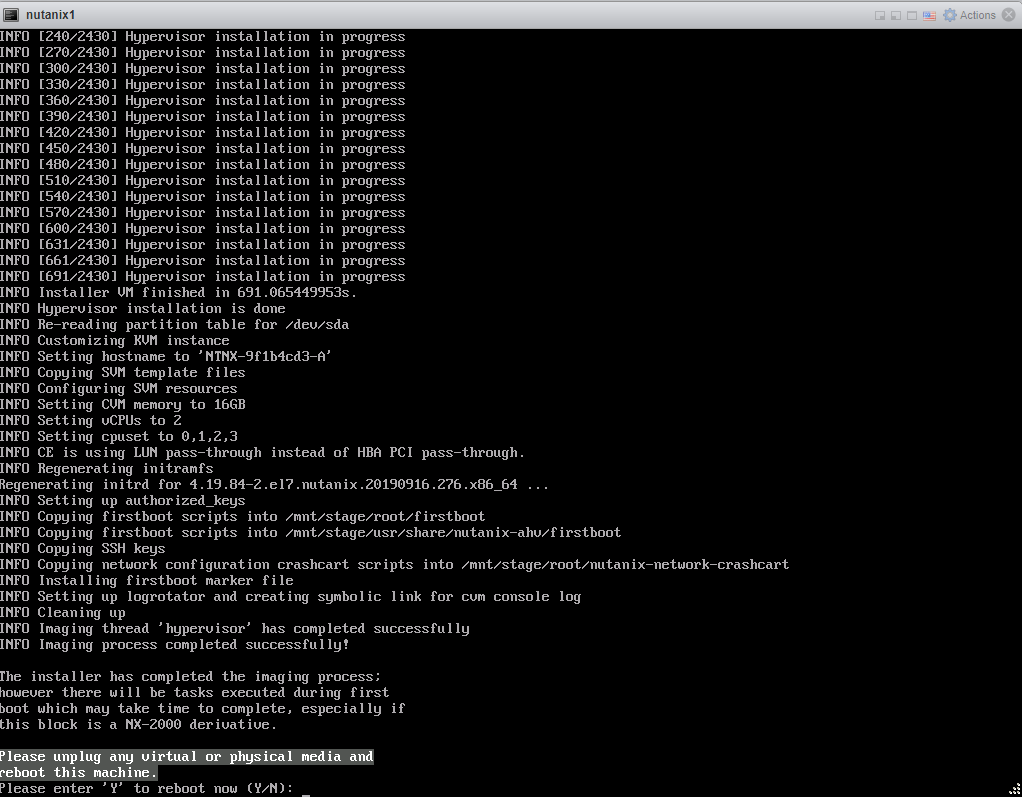
Once the install is complete enter ‘y’.
Go get some coffee. It takes a while for the CVM to start up since we aren’t giving it a ton of memory.
Go to the IP address you configured for the CVM on port 9440 (ie https://cvm_ip:9440)
Congratulations for making it this far. You are so close to getting to witness the awesomeness of Nutanix.
My next blog posts will outline the post install configuration, creating a VM, and finally installing Prism Central
Recent Comments